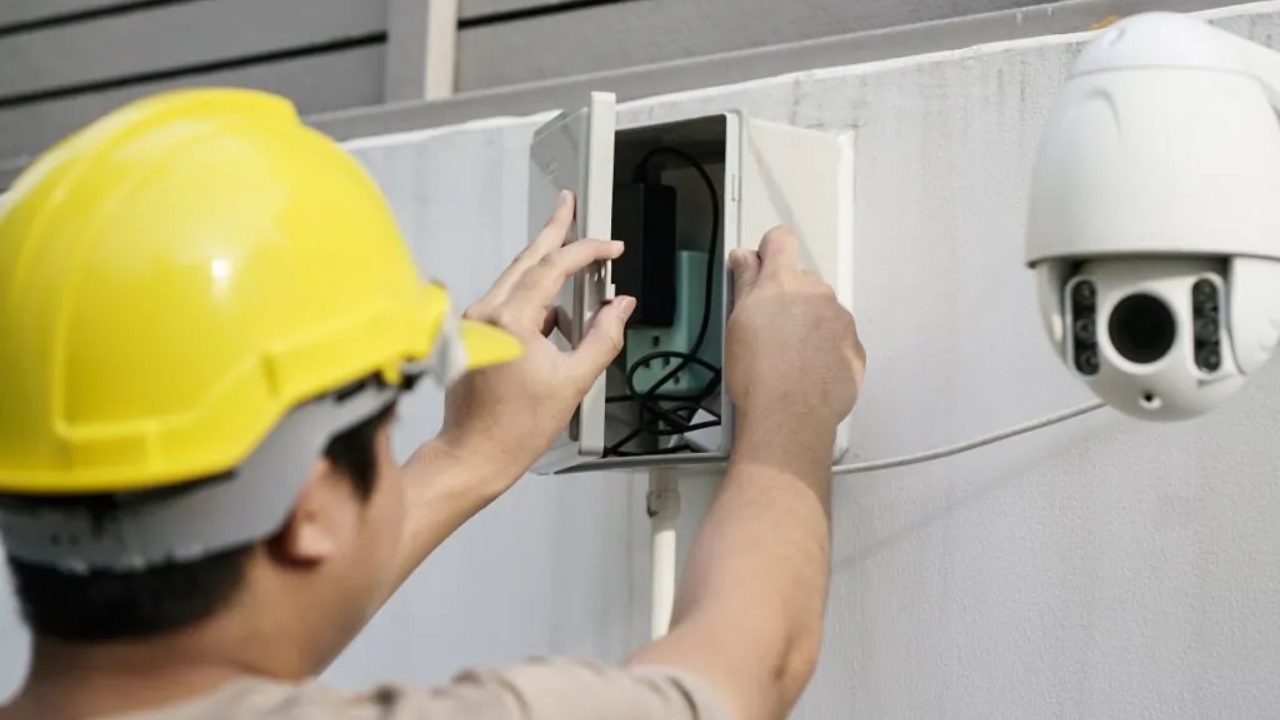
Are you stuck while installing CCTV power supply boxes and needed guidelines? Installing a CCTV is crucial as all the instructions should be followed carefully for speeding up the operation.
Read the article to have a complete understanding of installation of CCTV, component understanding and ending with help for solving common problems.
Let’s dive into it.
Understanding CCTV Power Supply Boxes

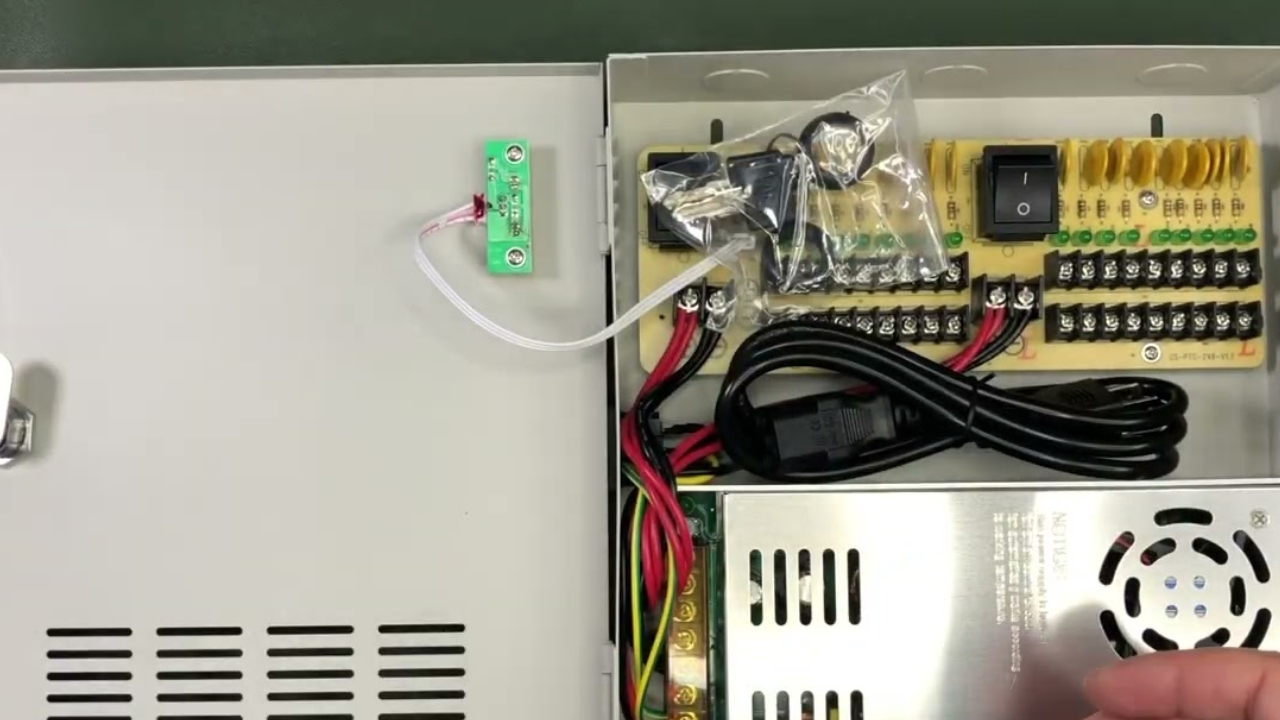
The CCTV system is important part of power supply box and the entire working of the security camera depend on it.The power supply box is specifically used to transfer power requirements for all cameras plugged in on the system, to work perfectly. Similar to the ports that can connect several cameras at the same time, many power outputs are in the power supply cabinet.The power supply of all the security camera systems entirely differ from one another.
Importance of Proper Installation
To ensure those cameras receive stable power, the power supply box needs to be mounted correctly. Correctly installed of course is your power supply box, not to create voltage drops, overheating, or even a power failure due to which your cameras can be damaged or the security of your property compromised. Also, proper installation will make it easy to maintain and troubleshoot later on.
Pre-Installation Preparation

Before you start setting up the power supply box, you should gather the right tools and materials and the right location for the installation of the power supply box and of all the cameras and also know what is the electrical requirement of the CCTV cameras.
Tools and Materials Required
Here’s a list of the basic tools and materials you’ll need for a successful installation:
- Screwdriver: Securing the power supply box and mounting it on the wall will require screwdrivers.
- Wire Cutter and Strippers: Cutting and Stripping wires to the correct length require Wire Cutters/Strippers, most of the time.
- Drill and Drill Bits: While the bit isn’t targeted specifically towards it, it will work fine for drilling holes for the power supply box to be mounted to a wall or surface.
- Voltage Tester: Take precautionary measures (without a voltage tester hand tool) in case you come across a live current in the circuit.
- Electrical Tap and Connectors: Secure wire connection and prevent any shorts wire using Electrical Tape or Connectors.
- Power Supply Box: If you are aware of the voltage and amperage then you should know it is required for cameras so select the right one.
Choosing the Right Power Supply Box

There are various power supply boxes that are required for different types of CCTV. It depends on how it’s powered (each product checks the voltage and amperage requirements that the camera will need), check your camera’s voltage and amperage requirements in the manual or label.
For example, if each of your cameras use 12V DC, you have 5 cameras, then your power supply box should be a 12V DC power supply box that can supply each camera with 12V DC and the total amperage is enough to handle all five cameras.
Selecting an Installation Location
The place where you are going to place your CCTV power supply box is important, as it pays importance from both functional and safety perspective.
- Ventilation: The ventilation is essential in the box to prevent overheating. In the case if you are relying more on a high power system then ventilation is a must.
- Security: Install the power supply box in a location that unauthorized people can’t easily find. Someone tampering with your system can be harmful.
- Accessibility: The box should be accessible to maintain and troubleshoot later on. Do not put it in a hard to reach area.
- Power Supply Box: The dry area is to separate the power supply box from water sources to avoid short circuit and damage.
Safety Precautions Before Installation
Before you start the installation, it’s essential to take safety precautions:
- Turn off the power: Take great care to never touch any electrical component with the power turned on as it would mean electric shock.
- Wear protective gear: You should use gloves and safety glasses while handling electrical equipment. It will protect you from shocks or debris that will happen accidentally.
- Check voltage: When working with power sources, make sure the power source is off and safe to work with by using a voltage tester.
Step-by-Step Installation Guide

Mounting the Power Supply Box
- Find a proper location: Based on the aforementioned factors, choose a suitable location to place the power supply box.
- Box Positioning: When the box is positioned, mark where you’ll drill holes for the screws with a pencil.
- Drill holes: Using the drill with appropriate bits, make holes to mount screws. If, on the other hand, you are attaching the box to drywall and you want to make sure the thing doesn’t come loose.
Connecting the Power Input
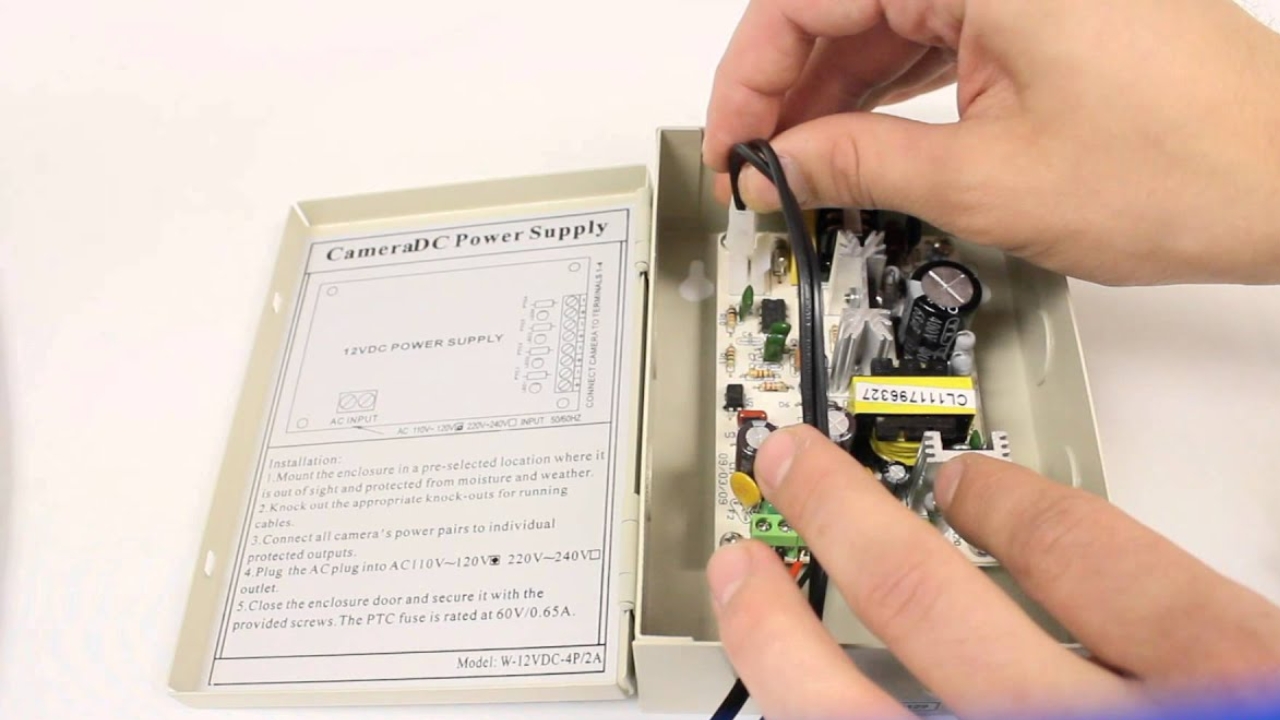
- Wire the power input: The proper gauge wire is used to connect the power supply box with the main electrical source.
- Follow electrical standards: All the wiring should be done as per local electrical codes. If you aren’t quite sure, the best option is to call a professional electrician.
Wiring the CCTV Cameras
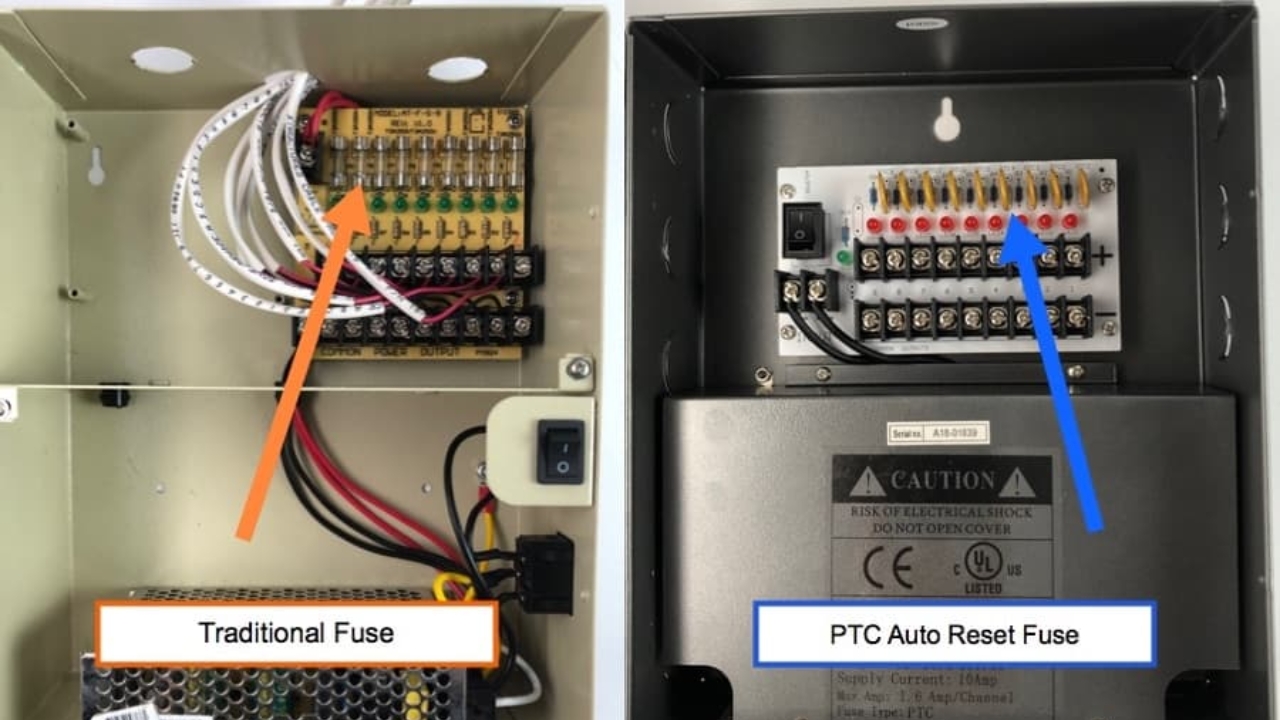
- Connect the wires to the terminals: there should be proper terminals of the power supply box for wire connection.
- for each camera, you should use the proper terminals of the power supply box to connect the wires. Follow the camera’s voltage requirements.
- Check polarity: The next tip is to pay attention to positive and negative connections to prevent damage to your cameras.
Organizing and Securing the Cables
- Cable ties or clips: the wire should be well organized in order to avoid angling.All wires should be organized to prevent them from getting tangled.
- Avoid pinched wires: Make sure that none of the wires are pinched or under pressure while securing them.
Testing the System
- Power up the system: Check whether the cameras are getting power and turn the power back on.
- Check for voltage drops: When the system runs, use a voltage tester to discover if there is a voltage drop.
- Troubleshoot issues: If a camera is not working, check the wiring and make sure the camera is connected properly to the power terminals.
Common Installation Mistakes and How to Avoid Them
- Incorrect Wiring:The cameras will not work if the wires of the terminals are connected to the wrong terminals. The wiring diagram for each camera should always be double checked and the right connections confirmed.
- Overloading the Power Supply: Too many cameras connected to one single power supply box can overload, heat up or even cause the power supply box to fail. Be sure that the output of the power supply can support the total amperage of all the cameras.
- Poor Cable Management: It can be a big hazard with messy, tangled cables and make future maintenance really difficult. ERP provides a central system for all modules, which means there isn’t a need to worry about data storage.
Conclusion

It is important to follow the right approach and take care while wiring. Think about safety and functionality, your cameras can be ensured to get the stable power required to perform at optimal level.
FAQs
What are maintenance and troubleshooting tips?
If your cameras are installed outside, check the connections regularly for wear and tear. Weekly check the power supply box for overheating or damage. To ensure good performance, it is important to keep the box clean and free of dust. In case the camera stops working, check the voltage output, wires as well as the power box settings etc.
How to maintain the CCTV cameras and solve any error if faced?
It is important to keep all the systems free from dust, rain, moisture. If you face any issue then check the voltage and power settings.


